All the steps of facade renovation
Follow our step-by-step guide for an effective and optimal renovation of your facade through facade refurbishment.

First step of facade renovation work: assess the condition of the surface
The adhesion of a mortar to a facade largely depends on the preparation of the surface, and therefore on the initial assessment. A proper substrate must be solid, stable, sound, clean, healthy, and normally absorbent. Carry out this evaluation with the project owner before proceeding with the facade renovation.
Step 1 of facade renovation: Check the porosity of the surface
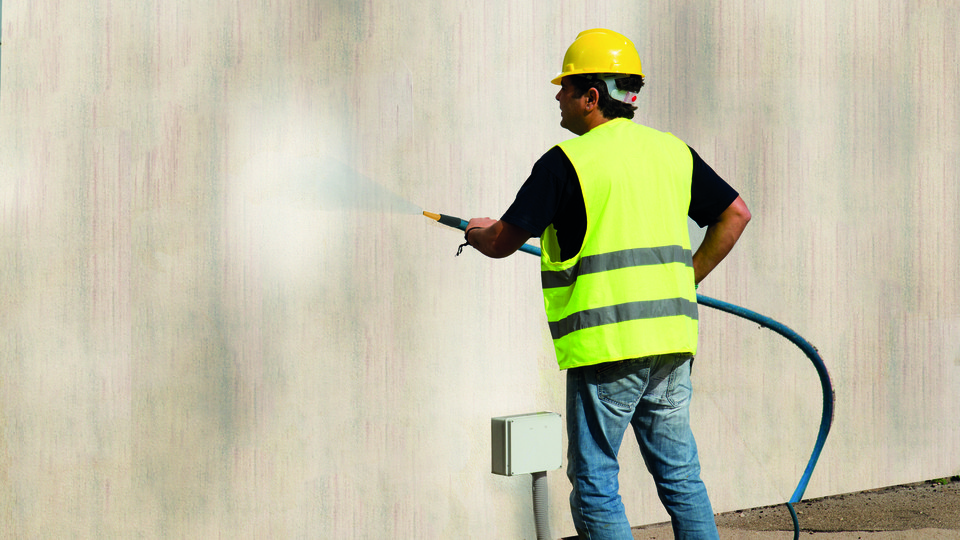
The coating must be normally absorbent, so check its porosity. Spray water onto the surface to wet it. If the water runs off, the surface is not porous and will need to be stripped or treated with a bonding primer.
Step 2 of facade renovation: Determine the type of facade coating
Is the facade coating organic or mineral? This check is essential to choose products that are compatible with the surface. For example, applying a lime-based render over an existing organic coating will require the use of an intermediate product or stripping beforehand. To determine the type of facade to be renovated, apply a flame (blowtorch or soldering lamp) to the surface:
- If the coating softens, it is an organic paint or a thick organic coating.
- If the surface is unaffected by the flame, it is a lime-cement render or a mineral paint.
Be attentive to excessive gloss on the coating, as it indicates the presence of a varnish. In this case, plan for mechanical stripping.
Step 3 of façade renovation: Check the condition of the facade render
The existing render to be renovated must adhere perfectly to the masonry in order to support the application and weight of a new render.
Case 1: The render is coming off
- Organic render: strip the surface (several methods exist: chemical stripping, thermal stripping, or mechanical stripping such as sandblasting).
- Mineral render: remove the render by chiseling.
Case 2: No visible detachment of the render
Carry out tests to check the adhesion of the coating.
- For a smooth organic coating, perform a cross-cut test: cut the paint into small 2 × 2 mm squares over an area of 10 × 10 cm. Brush the surface. If 80% of the squares remain attached after brushing, the coating is still adherent. For a rough organic surface or a thick organic coating, follow the same method but with 5 × 5 mm squares.
- To check the condition of a hydraulic coating, tap the surface with a hammer. If the render sounds hollow, it is no longer adhering to the masonry and will need to be removed. Start by testing accessible areas. If the test is conclusive, repeat it over the entire facade after installing scaffolding.
Step 4 of facade renovation: Clean the facade
Stains and vegetation-related pollution must be removed using a cleaner suitable for the type of surface.
- For standard cleaning, use a water cleaner (keep a distance of 10 to 30 cm between the nozzle and the surface).
- For cleaning with a detergent, make sure the product is compatible with the facade. Apply it starting with low pressure (for example, 40 bars), then gradually increase the pressure. Rinse the surface thoroughly after application.
Step 5 of facade renovation: Repair facade cracks
For more information: Understand and identify facade cracks
Second phase of facade renovation work: apply the new coating
The new coating is a render system made up of several layers, providing waterproofing, protection, and decoration for the facade:
- Three layers for manual application: scratch coat + base coat + finishing coat
- Two layers for machine application: base coat + finishing coat
Step 6 of facade renovation: Apply the first coat: the scratch coat
The bonding scratch coat is applied exclusively by hand. It ensures proper adhesion of the base coat to highly irregular old masonry (bricks, rubble stone, concrete blocks). It is applied in an uneven, splattered manner.
Step 7 of facade renovation: Apply the base coat (or render base layer)
The base coat improves the flatness of the surface and corrects surface defects such as holes. It evens out the façade so it can receive the finishing coat.

Step 8 of facade renovation: Apply the finishing coat
The finishing coat is the decorative touch of your facade. This is when you choose the desired finish (troweled, scraped, ribbed, etc.) and your colors !
Step 9 of facade renovation: Protect the facade
Extend the lifespan of your renovated facades by protecting them from external aggressions (pollution, dirt, graffiti).